
The Dos and Don’ts of DIY Home Painting
Painting any room can revitalize it and provide it with new energy, whether it is done on its own or hired out to professionals. Both options offer immense pleasure.
Preparation is key when painting walls, as this will save both time and money in the long run.
Do Your Research
Paint can be an economical, money-saving home project if done properly and carefully researched, providing professional results while saving time and money. However, before diving in you should keep certain points in mind to avoid potential missteps.
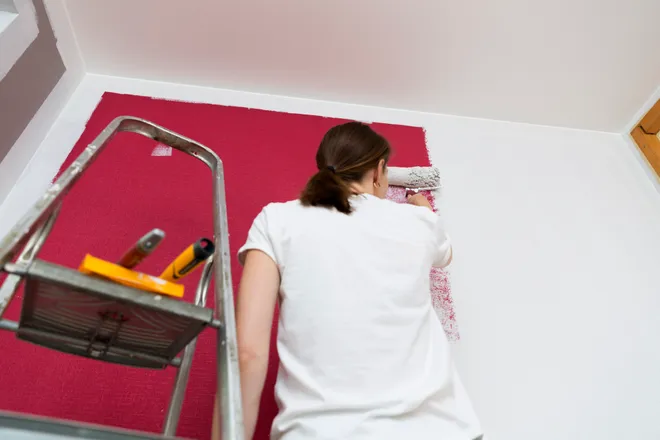
Make sure that the work area is safely contained by placing cloth or plastic drop sheets on the floor, clearing away furniture, and covering any remaining objects that cannot be moved.
Furthermore, it’s wise to consult the professionals. Any professional painter should be happy to address any queries that you might have – be they related to insurance coverage, expertise or the right color palette for your home.
Do Your Preparation
Before embarking on your DIY home painting endeavor, take time to properly prep the room. This means removing furniture and covering up anything you don’t want paint getting on, covering floors with drop cloths and taking special care to cover doorknobs or light switch covers with painter’s tape if necessary.
Undertaking any painting project requires thorough wall inspection for dirt, stains, or scuffs that could show through in the final coat of paint. You might be able to clean away some with damp cloth or mild detergent. Also make sure that all supplies necessary are on hand including ladder, sturdy tray/bucket with lid for storage, roller with cage/liner set-up as well as brushes/stir sticks etc.
Do Your Inspection
Painting your home is an effective and budget-friendly way to quickly update its appearance, yet there are certain key things you should keep in mind to ensure a successful project. But painting doesn’t just happen by itself – there are some basic practices and rules you should abide by for optimal results.
Before beginning work on walls and surfaces, make sure they are free of dust and dirt. Inspect surfaces for cracks, dents, and dings which might require patching with lightweight spackling compound. And cover floors and furniture properly (if necessary remove items like light switches and outlet covers). Finally, ensure you have access to high spots with a good work light as well as step stool or ladder for accessing those hard-to-reach spots.
Do Your Cleaning
Walls that are dirty are hard to paint over, so take the time to wash them beforehand and save yourself the trouble of having to repaint later on.
An effective cleaning solution and sponge should do the trick. Start at the base of the wall, working your way upwards while re-soaking and wringing out your sponge as necessary.
If there are any scuff marks or stains, lightly sand them before washing to avoid damage to the walls. Be careful not to oversand; too hard of sanding may lead to permanent marks on your walls! For hard-to-reach spots use an eraser sponge (essentially melamine version of sandpaper). Just be gentle!
Do Your Primer
Many DIY painters opt out of using primer. That doesn’t mean it isn’t important; but, often times, people working on tight deadlines find this extra step burdensome.
Paint primer creates an excellent surface to secure subsequent layers of paint to while simultaneously concealing unsightly wall stains and hiding any unsightly wall flaws. Utilizing primer is especially essential if switching from dark to lighter hues as darker hues will show through in lighter ones.
There is an assortment of primers available from different brands and prices. Select one that complements both your paint material and surface you are painting upon.
Do Your Painting
One of the most frustrating experiences when painting walls can be seeing new coats of paint drip down from your brush onto your hands or chin. To avoid this scenario, professionals use five-gallon buckets for mixing their paint so it remains color consistent throughout their project.
As humidity can cause paint to drip and delay drying times, it’s wise to wait for a dry day when planning on painting. You can save time by starting with ceilings before moving onto walls and finally finishing up with trim work.
Before beginning painting, it’s also a wise idea to remove electrical outlet and switch cover plates for smoother results when painting around them later on.